1.6. (Reference)How to transfer file with WinSCP(Windows)
How to transfer files with WinSCP.
1.6.1. Convert private key
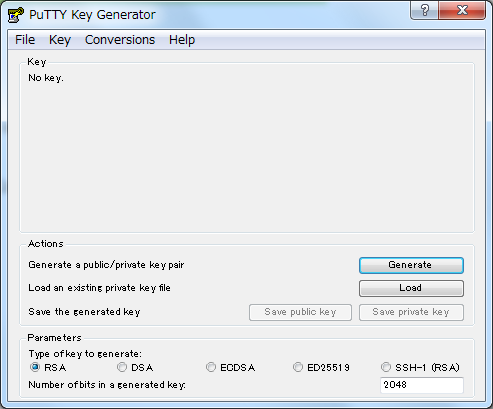
You can not use OpenSSH private key in WinSCP. To use OpenSSH private key, you need to convert it to PuTTY private key via PuTTYgen. Download puttygen.exe.
Execute the downloaded puttygen.exe and select “Import Key” from the “Conversions” menu.
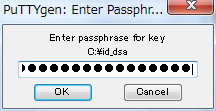
Click “Load” and browse to the location of the private key file that you want to convert. PuTTYgen displays the following window. Input the passphrase of your private key.
When you click “OK”, PuTTYgen displays a dialog box with information about the key you loaded, such as the public key and the fingerprint.
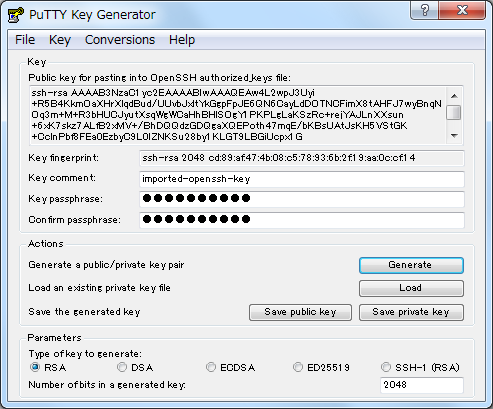
Click “Save private key” and save PuTTY private key.
1.6.2. File transfer using WinSCP
Start WinSCP.
Click “Advanced …” in the Login window.
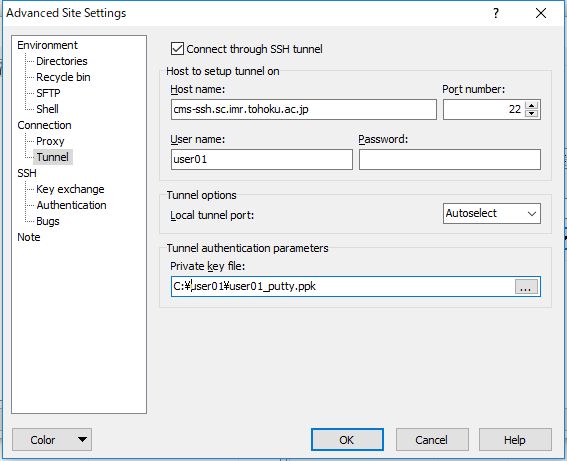
Select “Tunnel” for “Connection”, and check “Connect through SSH tunnel”. In “Host to setup tunnel on”, put “cms-ssh.sc.imr.tohoku.ac.jp”, your UserID(Example:user01) and private key. Then click “OK” button.
Select “Session” and put the hostname (example:super.sc.imr.tohoku.ac.jp) and your UserID.
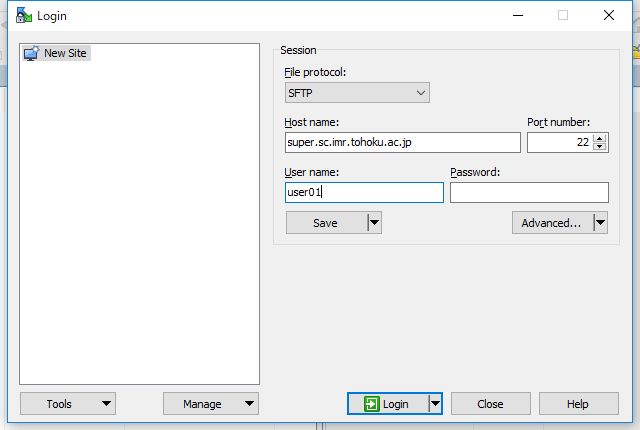
Click “Save…” button.
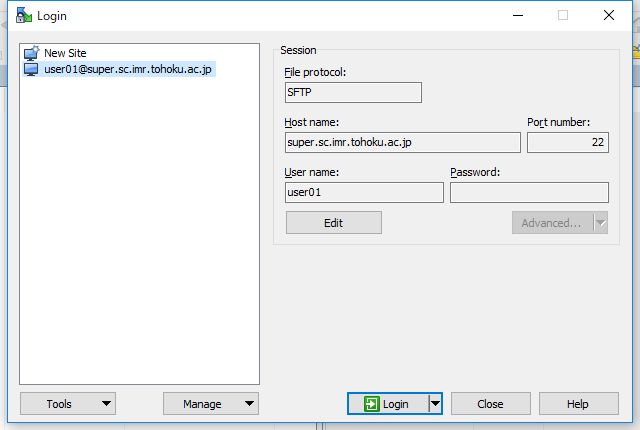
In the next time, the procedures of 2-4 can be omitted and simply clock “Login” button in 5.
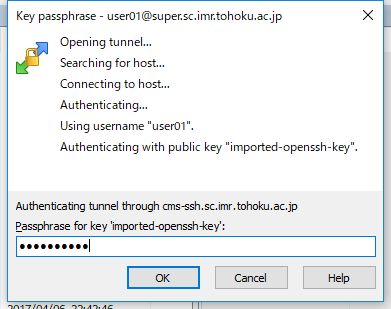
Enter your passphrase and click “OK” button.
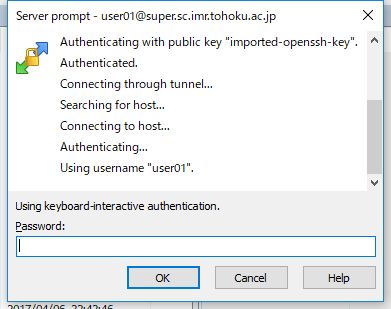
Enter your password and click “OK” button.
You can transfer files once the directories appear as shown below.