7. CCMS JupyterLab Operation Manual
7.1. How to Connect to CCMS JupyterLab Environment
To connect to CCMS JupyterLab, use SSH port forwarding. Follow the steps below to configure it.
・Prerequisites
The listening port for CCMS JupyterLab running on the frontend server is port number 28000. This manual describes the operation method assuming that SSH port forwarding is set as follows.
・Setting SSH Port Forwarding
Add the following to ~/.ssh/config to forward communication from port number 20080/20081 on localhost to port number 28000 on super2/super3.
$ cat ~/.ssh/config
Host cms-ssh.sc.imr.tohoku.ac.jp
    User username
    HostName cms-ssh.sc.imr.tohoku.ac.jp
    IdentityFile ~/.ssh/keys/id_rsa

Host ccms-jupyter
    User username
    HostName super.sc.imr.tohoku.ac.jp
    ProxyJump cms-ssh.sc.imr.tohoku.ac.jp
    LocalForward 20080 super2.sc.imr.tohoku.ac.jp:28000
    LocalForward 20081 super3.sc.imr.tohoku.ac.jp:28000

$ ssh ccms-jupyter
※ Specify your private key for ~/.ssh/keys/id_rsa.
※ Specify your account name for username.
※ Modify the port number 20080 on localhost as needed.
The following operation steps assume that this port forwarding is set.
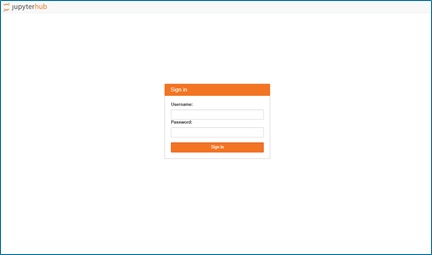
7.2. How to Login
When you connect to the following URL, the login screen will be displayed, and you can log in with the ID/PW of the supercomputer system account.
URL: http://localhost:20080/ ※Replace 20080 with the port number set for port forwarding
7.3. How to Use CCMS JupyterLab
After logging in, you can use each function from the links on the top screen.
Notebook : You can use Jupyter Notebook.
Terminal : You can use the OS (Ubuntu) via shell operations.
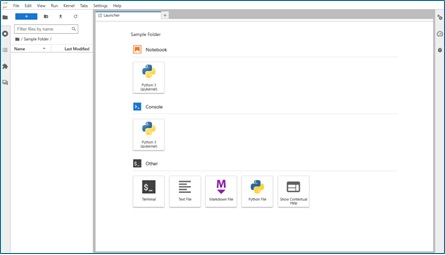
The operation of each function of JupyterLab is described in the official documentation.
7.4. How to Create a Conda Environment
Operate the conda virtual environment from the Terminal function within JupyterLab.
・Initial setting
$ conda init
※ This is the initial setting of the conda environment and needs to be executed only once.
・Create
$ conda create -n SampleEnv python=3.11.5 ipython ipykernel
※ Create a virtual environment named SampleEnv. You can specify packages at the end.
※ Change the string SampleEnv to any string.
※ Specify ipython and ipykernel as they are required for kernel registration in JupyterLab.
・List
$ conda info -e
※ Environments starting with the path /opt/conda/… are in the system area.
※ Environments starting with the path /home/… are in the user area of each account.
・Delete
$ conda remove -n SampleEnv --all
※ Delete the specified virtual environment.
Register the created conda virtual environment as a JupyterLab kernel from the Terminal function.
・Register
$ conda run -n SampleEnv ipython kernel install --user \ --name=SampleEnv --display-name=SampleEnv
※ Specify the name of the created conda virtual environment with -n for kernel registration.
※ Specify the display name on the JupyterLab screen with --name and --display-name.
・List
$ jupyter kernelspec list
※ The kernel.json file directly under the displayed path contains information about the referenced virtual environment.
※ The default kernel is python3 /opt/conda/share/jupyter/kernels/python3
・Delete
$ jupyter kernelspec uninstall sampleenv
※ Delete the specified kernel (specify the kernel name in all lowercase).
※ Only the kernel registration information of JupyterLab is deleted, and the conda virtual environment is not affected.